Friday, 10 May 2013

Figurative glasses

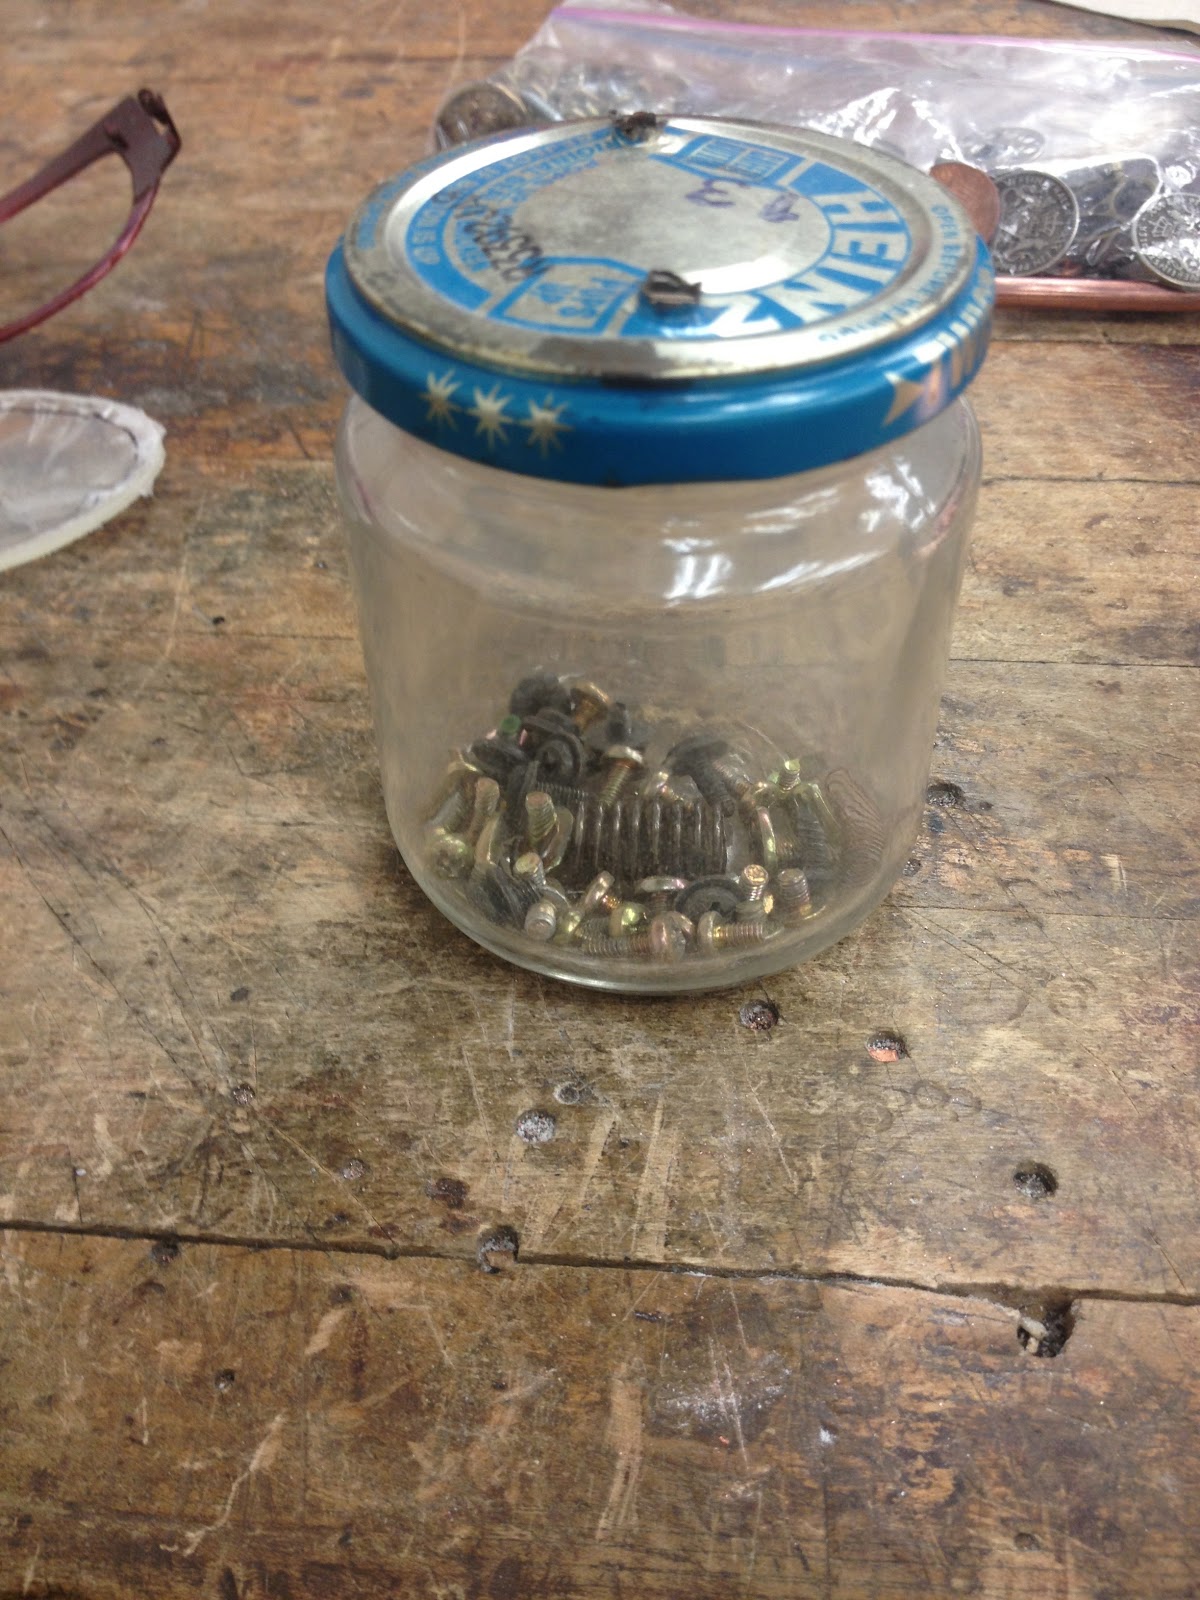
The aim of this piece was to create a dramatical/theatrical pair of glasses-they do not have to be functional, and can be humorous. I based the pair on the Steampunk theme; a sub-genre of science fiction that typically features steam-powered machinery during the 19th Century. I have previously collected 'bits and bobs' (UK slang!), but also visited thrift stores to extend my collection, which I added to my piece.  Here are my sketchbook pages that include inspiration, research, sketches, ideas, designs, methods and techniques.


I based my designs around creating a monocle, which is the decision I came to, as I wanted it to look like it came from the 19th Century. My first intentions were to make it jewellery based also, and to attach the monocle to a brooch, but after thinking and sketching my ideas, I realised this would be almost impossible as it would be too heavy. So I went back to designing a monocle.


Here are my final sketches; the wire will go from the monocle, under the other eye, over the head like a girl's headband, and to have some decoration at the ending, which is the same side as the monocle.


Here is the link to my Steampunk board on pinterest; http://pinterest.com/hannamegan92/ks-sunglasses/


The tools and materials I used were a hammer, copper sheet, copper wire, saw, forging mill, various hammers, ajax pattination. My piece includes collected objects such as, coggs, springs, keys, buttons, coins and coils.


The technique I learnt was forging.  This is such an interesting way of shaping metal, and quite a simple process for a effective and clean finish. It is first annealed, to ensure the metal is soft enough, it is then put through the rolling/forging mill whilst rotating and ensuring the entire piece of wire goes through the mill, forging it into squared wire. Then a hammer is taken to smooth out the edges forming the original circular wire shape, but thinner. It is then annealed again, as hammering it work hardens the metal, it can then be formed into certain shapes, using certain hammers. At the top of the piece I wanted it to be flat, for it to sit on the head, and so I used a domed hammer to stretch out the metal. The monocle and decorated section are riveted on the the wire, where I also flattened with a domed hammer. No heat or solder was used through out this piece.


To colour the metals, I used ajax pattination, to create the used, machinery effect. Which I painted on myself, instead of leaving the pieces in the solution, as I wanted to control where the colour went.


Almost finished pieces;

With and without colour


Our fellow Welsh students, who are photographers helped us out with a photo shoot, here are some photographs from the shoot and before. 


My final piece, is currently displayed in cabinet in the hallway of the jewellery studio, and has been since our photo shoot. The final images are presented on mount board next to the cabinet. 


Here are my final images from the photo shoot:


Sunglasses

The purpose of this project is to create functional sunglasses, we will learn and practice techniques to help towards our more figurative pair of glasses. We will be learning how to shape and size the frame to our own faces. The things we needed to consider the most, was if they were symmetrical, how they sat on the face, measured correctly on the ears and where the nose pads would be soldered. With the choice of colours that we had, I was attracted to the bright, glittery red and so I knew I wanted a 1950s look. 


Here is the link to my board on Pinterest, which was inspiration towards this project, and my second pair of glasses:
http://pinterest.com/hannamegan92/ks-sunglasses/


The materials we used were nickel and powder coating, the hinges and nose pads were given to us. 

Powder Coating 
Step 1- The cleaning 
Step 2- Drying off
Step 3- Powder Paint Application 
Step 4- Curing
Step 5- Cooling down

Before coating the metal with the powder, it must be thoroughly cleaned, there can be no debris or coloured dots, as it can cause the paint to flake or crack. Once the metal is dried, it is hung on a metal rod to be sprayed. The powder coating gun is plugged in to the electric and is attached to the rod, so that the current goes to the metal, causing the powder to attach to the metal. Once the product is fully coated with fine powder, it is then heated at 450 degrees in a curing oven, it gels the powder into a strong flawless coat covering the entire surface.  


We also learned how to shape and cut the lenses. This is a very difficult process, as it takes a lot of patience and time. The lenses are plastic and very fragile, we practiced on a clear pair before finalising in a chosen shade. The entire class went through a lot of lenses, and so we are waiting on more lenses to finalise the piece completely, and so photos will be uploaded soon. 


Almost finished glasses!


Thursday, 9 May 2013

Nature Pendant

Feb 6th-20th


Project goals and process:
Make a pendant out of layers of metal, using basic techniques (sawing, filing, drilling, sanding, texturing, riveting) and several colors of metal. At least one surface should be textured and one should be colored. Incorporate at least one rivet of each type (standard, flush, tube, spacer).


Roll Printing
• Metal must be clean and dry (copper, bronze and brass work best because they are soft)
• Pattern for printing must be dry (no green leaves, snails, etc.)
• Pattern must not be too thick
• Use brass backing sheet (on window sill) to make the sandwich for rolling
• Layer order: work piece, pattern, backing sheet
• If you do not use the backing sheet, the pattern may transfer to the rollers which can damage them and be a very expensive problem.

• Open rollers, place sandwich between rollers, tighten rollers onto sandwich
• Move blue dial to ‘0’ to mark the thickness of sandwich
• Open rollers, remove sandwich, close rollers so dial goes back to ‘0’ setting
• Close rollers further to ‘13’, this will provide pressure needed to imprint workpiece
• Roll piece through rollers
• Flatten and replace brass backing sheet on window sill

Do not:
• Put too much pressure on rollers—these machines are sensitive and can be severely damaged if something too thick or with too much pressure goes through
• Put anything dirty (oxides, wax, dust) or wet through—this will leave residue or water on the rollers; residue will get on other workpieces, water will rust rollers
• Put anything through without the brass backing to protect the rollers
• Let the pattern material extend past the metal edges
• Force anything through—if it is too difficult, stop and ask


The brief is to concentrate on nature and so I have decided to focus on birds and nests. I chose to do this because I think the layering of twigs and leaves etc in a nest, suits the brief with the techniques we are learning-space riveting- to show the different layers in a nest. Also, to focus on the detail in a nest, I will be experimenting with wire, creating samples to see if the wire is as effective as I'm imagining it. I am also going to look further into texturing the piece. To enhance the detail in the textures, I will experiment with colouring, perhaps mainly concentrating on Jax and removing the surface, so that the Jax sits in the textures. I will also be using titanium, and will be colouring it to an almost duck egg blue. I will also create some samples of texturing with a hammer, using different shaped heads to create different sized dents, and also using letter stamps to create texture, I can then be in control of the lines, and 'draw' with the hammer.

Here are the pages to my sketchbook, they include designs, inspiration, ideas, colour charts, titanium notes, proposals, methods, artist research, final photos and my final conclusion.


Artist research


The thing I loved most about this project is that we used and experimented with titanium, which I  haven't used before. It's all done through voltages and currents, and the volume of voltage changes the colour of the metal.


Sample piece
Here is the sample piece I made,  I created this, to see how the wire between the metal sheets would look, I think it worked very well on such a small piece, but came to the decision that it wouldn't look as great on a larger piece, especially beings I will be cutting out small branches out of my final piece.


Final images of my piece and how it could be worn.. 


The thing I would change about this piece, is making it smaller. As it is such a large piece, it would make a very heavy piece of jewellery, but over all I am happy, especially with the colour and texturing. 


Nametag

Jan 28th-Feb 4th.


Practice 1: Nametag
Design a nametag with 2 layers of metal sheet.
• Your design may be a symbol, character, initials, anything to represent you.
• Your name will be stamped on part of the nametag, which will be mounted on your locker.
• Design must include: straight and curved lines, at least one negative cutout, texture, color, and beveled edges.• The form of the backplate should accommodate the symbol’s design.• The symbol and the backplate will be joined by three kinds of rivets (regular, flush, tube).• Design must fit within the template. Include circles on sides of template, no lines should go through or too close to circles.

This project is to create a name tag for our locker in the studios. I will be basing mine around Steampunk, just because I am highly interested in the genre. I will be creating the look of Steampunk by creating cogs and adding collected items such as coins. I am also interested in the concept of time; the duration, historical and the past, present and future, so I will be adding clocks to the piece. We are expected to to add lettering using letter stamps, so I will be adding Roman numerals to the clocks.

I visited a thrift store, to collect 'bits and bobs' (as we like to call them in the UK), I found nuts, bolts, cogs, etc. I also collected coins, that I wanted to look back at and remember that it was made in Kansas.

Pinterest held good inspiration for this project- http://pinterest.com/hannamegan92/ks-steampunk/


This is the template we worked on, I used this to draw my designs on, this worked well as I knew what my limit was. 

Here are some images from my sketchbook, which are some sketches, designs, inspiration, method, final photos and my conclusion. 


The metals I used were copper and brass, plus a coin which is zinc. I used a hammer to texture the cogs, letter stamps to add the roman numerals, the tools I used were a saw, a drill, a hammer and a steel block.


The things I would change about this piece, is the amount of detail. I would improve it by adding more texture-perhaps by putting it through the rolling mill, or using a hammer again and patinating it to enhance the detail.